One thing that I knew was completely worn out, when I bought the Chief, was the generator drive. A generator drive sprocket inside the primary engages with the primary chain. The shaft for said sprocket passes through a bushing in the inner primary cover, and a pulley on the outside connects to a v-belt, which drives the generator..
The generator drive sprocket shaft is supported on both ends by brass bushings. They were so worn that the inner bushing had a clearance of about 3/32" instead of the .002" it should have... The shaft was heavily scored, and the inner primary was wallowed out to the point where the bushing fell out upon disassembly. Repairing all this was pretty involved...
Step one: Order a reproduction inner primary and inner and outer bushings.
Step two: press in the bushings. But wait... The outer bushing, which is supposed to be a light press fit in the primary cover, goes in by hand... not acceptable!
Step three: Make a new bushing with an oversize outside diameter! Atlas to the rescue!
Checking the bushing alignment and clearances with the new shaft:

Almost there. A gentle line-hone and I think we're back in business...
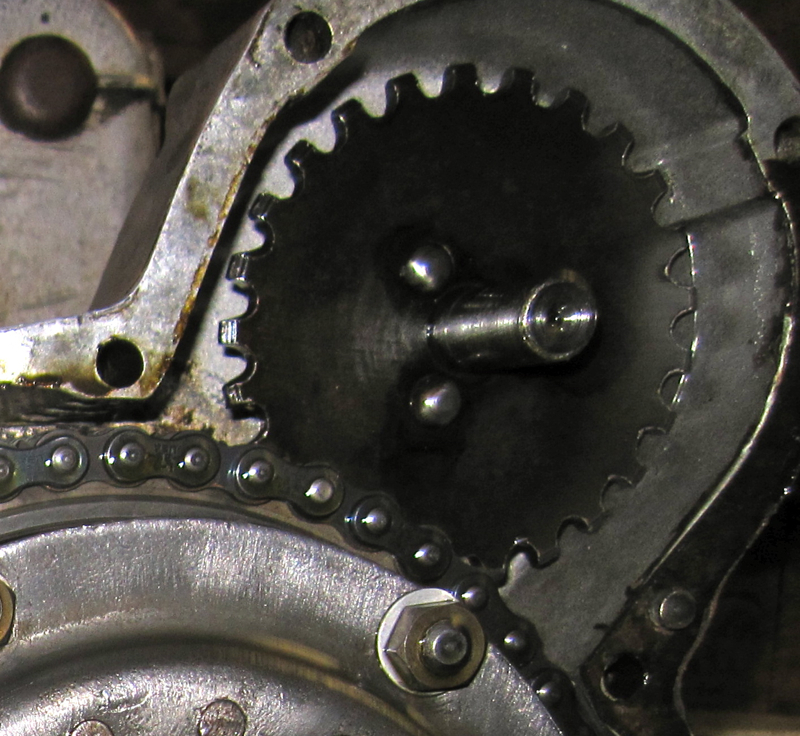
Step four: drill out the rivets holding the old sprocket to the shaft, transfer the sprocket, and re-rivet...
Step five: turn down the rivet heads you just painstakingly peened, until they are flush to the shaft shoulder, because the rivets are underneath a thrust washer (?) Who thought this up? I'm starting to have Sprite flashbacks...

Do you ever have the feeling that your hobby involves a certain amount of occasional mental illness? I could have been golfing or somehting normal!
Oh yeah, one final OCD detail... I added a modern rubber seal to the inner primary, to prevent the ever-present oil leak from behind the generator pulley.